
How to install an ELCB with MCB in a distribution board?
May 22, 2025
Leave a message
Hey there! As a supplier of ELCB with MCB, I've seen firsthand how important it is to have these devices installed correctly in a distribution board. In this blog post, I'll walk you through the process of installing an ELCB with MCB in a distribution board, step by step.
What is an ELCB with MCB?
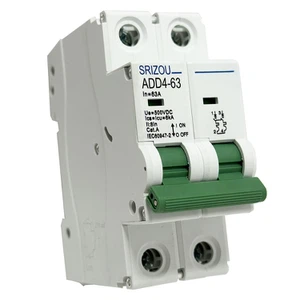
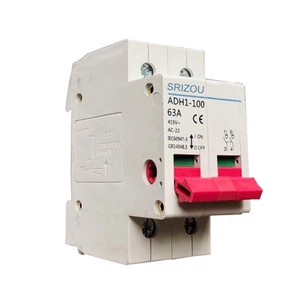
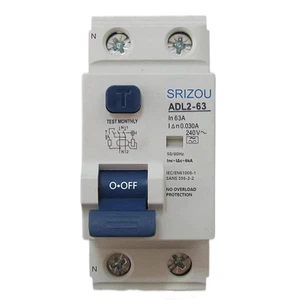
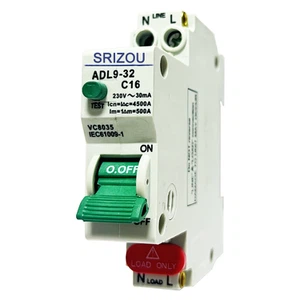
Before we dive into the installation process, let's quickly go over what an ELCB with MCB is. An ELCB (Earth Leakage Circuit Breaker) is a safety device that protects against electric shock by detecting any leakage of current to the earth. An MCB (Miniature Circuit Breaker) is a protective device that automatically switches off an electrical circuit in case of an overload or short circuit. An ELCB with MCB combines the functions of both devices, providing both earth leakage protection and overload protection.
Why Install an ELCB with MCB in a Distribution Board?
Installing an ELCB with MCB in a distribution board is crucial for several reasons. Firstly, it enhances the safety of your electrical system by protecting against electric shock and preventing electrical fires caused by overloads or short circuits. Secondly, it helps to comply with electrical safety standards and regulations. Lastly, it provides peace of mind knowing that your electrical system is well-protected.
Tools and Materials You'll Need
Before you start the installation process, make sure you have the following tools and materials:
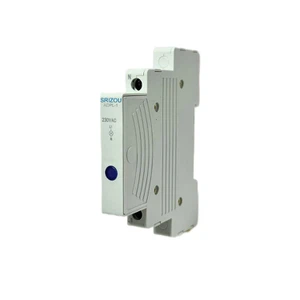
- ELCB with MCB: Choose the appropriate type and rating based on your electrical system requirements. You can check out our Single Phase Elcb with Mcb and Earthleakage With Overload Protection options.
- Screwdriver set: Different sizes of flathead and Phillips screwdrivers will be needed.
- Wire strippers: To strip the insulation from the electrical wires.
- Electrical tape: For insulating the connections.
- Voltage tester: To ensure the power is off before working on the electrical system.
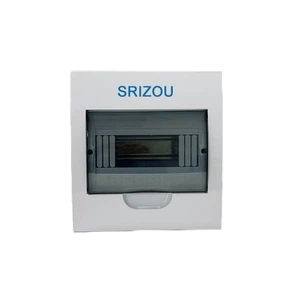
- Distribution board: Make sure it is suitable for the ELCB with MCB you are installing.
Step-by-Step Installation Process
Step 1: Turn Off the Power
The first and most important step is to turn off the main power supply to the distribution board. Use a voltage tester to double-check that the power is off before proceeding. This will prevent any electrical shocks during the installation process.
Step 2: Remove the Cover of the Distribution Board
Use a screwdriver to remove the screws holding the cover of the distribution board in place. Carefully lift the cover off and set it aside.
Step 3: Identify the Incoming and Outgoing Wires
Inside the distribution board, you'll see a number of wires. The incoming wires are the ones that bring the electrical power into the distribution board, while the outgoing wires are the ones that carry the power to different circuits in your building. Identify these wires and make a note of their colors and connections.


Step 4: Mount the ELCB with MCB
Choose a suitable location inside the distribution board to mount the ELCB with MCB. Make sure there is enough space around it for proper ventilation. Use the screws provided to secure the ELCB with MCB to the mounting rails inside the distribution board.
Step 5: Connect the Incoming Wires
Connect the incoming live (phase) and neutral wires to the appropriate terminals on the ELCB with MCB. Usually, the live wire is connected to the “L” terminal and the neutral wire is connected to the “N” terminal. Make sure the connections are tight and secure using a screwdriver.
Step 6: Connect the Outgoing Wires
Connect the outgoing wires from the ELCB with MCB to the respective circuit breakers or loads in the distribution board. Again, ensure that the connections are tight and secure.
Step 7: Check the Wiring
Once all the connections are made, carefully check the wiring to make sure there are no loose connections, crossed wires, or exposed conductors. Use electrical tape to insulate any exposed wires.
Step 8: Replace the Cover of the Distribution Board
After checking the wiring, carefully place the cover back on the distribution board and secure it with the screws.
Step 9: Turn On the Power
Finally, turn on the main power supply to the distribution board. Use a voltage tester to check that the power is restored and that the ELCB with MCB is functioning properly.
Tips and Precautions
- Follow the Manufacturer's Instructions: Always refer to the manufacturer's instructions provided with the ELCB with MCB for specific installation guidelines and safety precautions.
- Seek Professional Help if Needed: If you're not confident in your electrical skills, it's best to hire a qualified electrician to install the ELCB with MCB for you.
- Regular Maintenance: Periodically test the ELCB with MCB to ensure it is working properly. You can do this by pressing the test button on the device.
Conclusion
Installing an ELCB with MCB in a distribution board is a relatively straightforward process if you follow the steps outlined above. By doing so, you'll enhance the safety of your electrical system and protect your property and loved ones from electrical hazards.
If you're interested in purchasing an ELCB with MCB or have any questions about the installation process, feel free to get in touch with us. We're here to help you make the right choice for your electrical needs.
References
- Electrical Installation Manuals
- Electrical Safety Standards and Regulations
Send Inquiry